*This article was co-authored by Aditi Ramkumar*
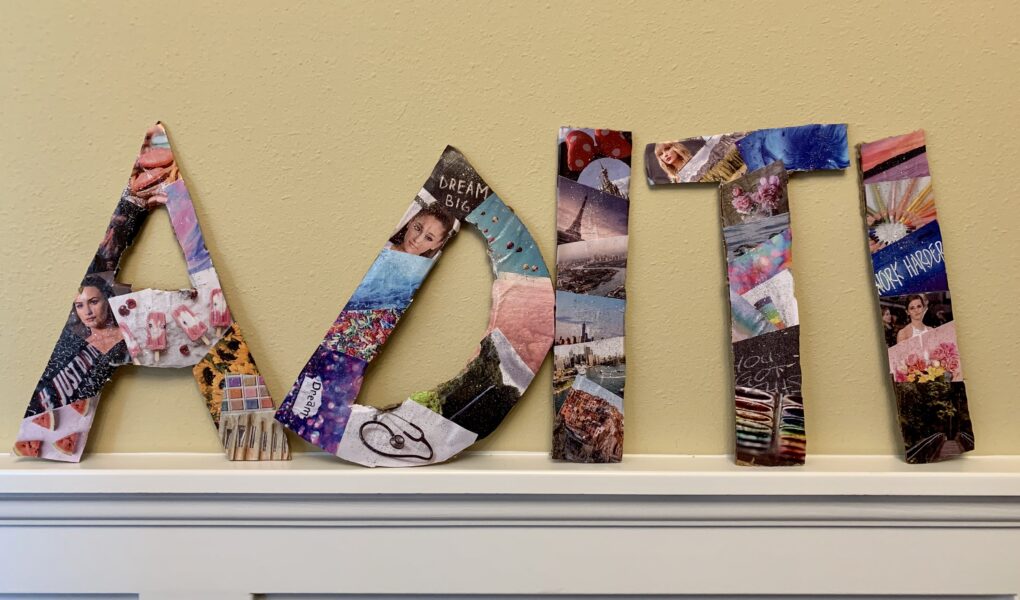
You want to spruce up your room with what you have in your house. We’ve all been there. But what can you DIY that’s actually going to look good with the rest of your room? This Lettered DIY collage look (we chose to do it with Aditi’s name, but you can choose any word you want) is a fun, colorful way to make your room pop.
What are you going to need?
I had all of these materials on hand already, but if you’re missing any you can find them at an arts and crafts store like Michaels or Ben Franklin.
- Mod Podge Glue
- Sponge Paintbrush
- Cardboard
- Box Cutter
- Images
- Scissors
- Glitter (optional)
1. Cut out your letters
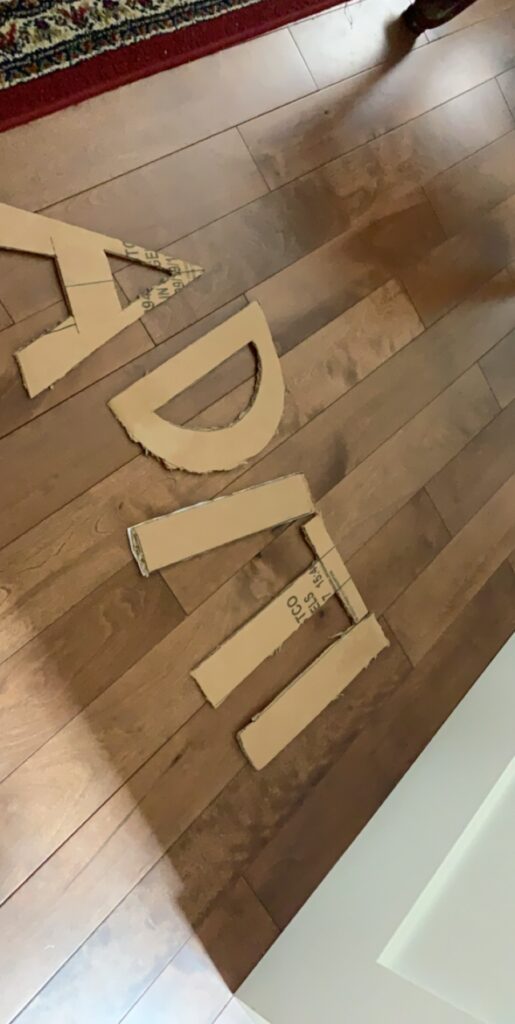
Using a box cutter and a cardboard box, trace and cut out the letters you want to collage. We used a straight edge to measure the exact same height on every letter.
2. Choose, print, and cut out your images
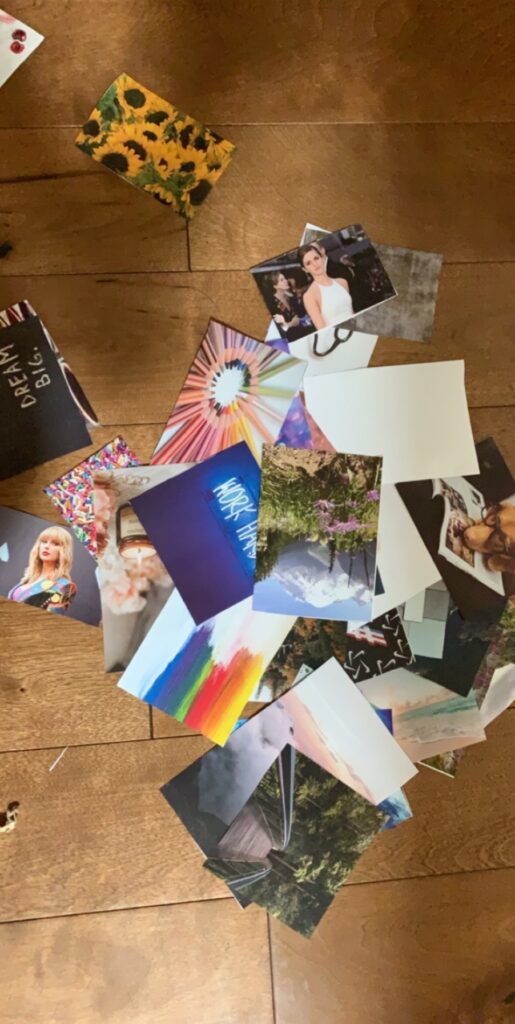
Using a site like unsplash , where you can find beautiful images for free, print out the images you want to collage. The sky’s the limit! Pick quotes, family photos, nature, or pretty photos of objects. This part of the DIY is totally up to you.
I don’t have a color printer, so I got the photos printed at the UPS Store for 49c per page.
If you want to paint your cardboard before you start collaging you can, but it’ll be mostly invisible underneath the collage.
3. Start Mod Podging!
We’ve put together a short video showing you how to Mod Podge your photos onto the cardboard and how to collage the entire letter. There are more detailed instructions below if you’re still confused after watching!
Steps to collaging
- Using the sponge brush, dot the cardboard with mod podge
- Spread the back of the photo with mod podge
- Stick your photo onto the cardboard
- Swipe a layer of mod podge over the glued photo
- Repeat steps 1-3 until photos are layered all over the letter
- Using scissors, carefully cut around the letter until excess photo is removed from the side. Make sure that the mod podge is dry before you complete this step.
- Complete for other letters.
4. Glitter and other decorations
If you want to jazz up your collaged letters further, you can add some glitter, pearls, string, sand, or anything else. We chose to add some silver sparkles, sprinkling them over the top of the letters while the mod podge was still wet.
5. Put up your collage!
And that’s it! Keep your letters up on your desk, or hang them up on your walls! We hope that this DIY was fun and came out as a great accessory to your room.
Neha Magesh
Neha Magesh is originally from Washington State, and she now studies journalism at NYU. She is the founder and Editor in Chief of The Spearhead Magazine. In her free time, she enjoys hiking, running, baking, and writing.